Let’s crochet Isaac from the game The Binding of Isaac: Repentance. I love this game and I’ve amounted over 800 hours on it in a couple years. This pattern is free to follow. This pattern is not for redistribution.
What is The Binding of Isaac?
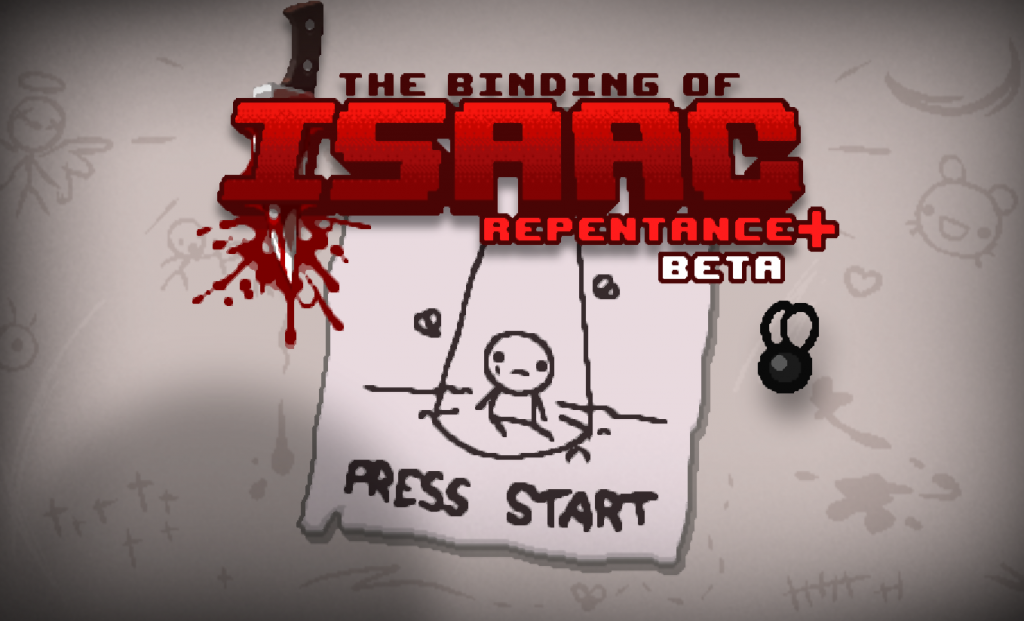
The Binding of Isaac is a roguelike video game released in 2011 by Edmund McMillen and Florian Himsl. The game has had several updates over the years with the newest version being The Binding of Isaac: Repentance. You play as the young Isaac who has escaped his mother through a trapdoor that leads to the basement. He must navigate a series of floors and rooms whilst avoiding shots from a series of enemies that increasingly become more difficult as the game progresses. Each run is different as specialised items and trinkets are randomised an there are several different bosses and endings to the game, keeping it fresh even after 800 hours of gameplay… Yea, it’s a pretty good game.
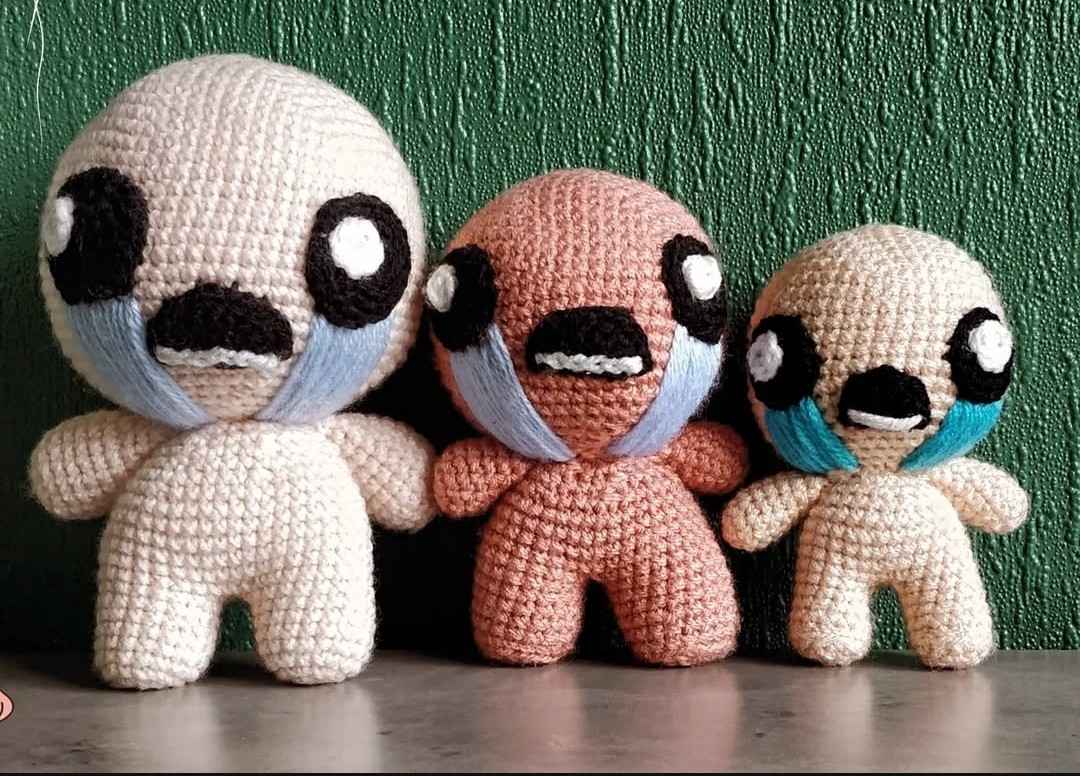
One thing that attracted me to the game was the overall aesthetic and design. The characters and enemies are all unique and somewhat ugly. The characters aren’t repulsive by any means, but they do hold certain oddities that make them such memorable characters.
Crocheting Isaac from The Binding of Isaac
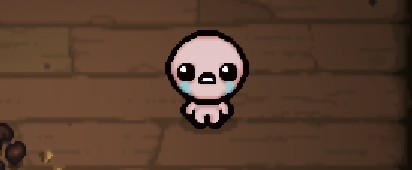
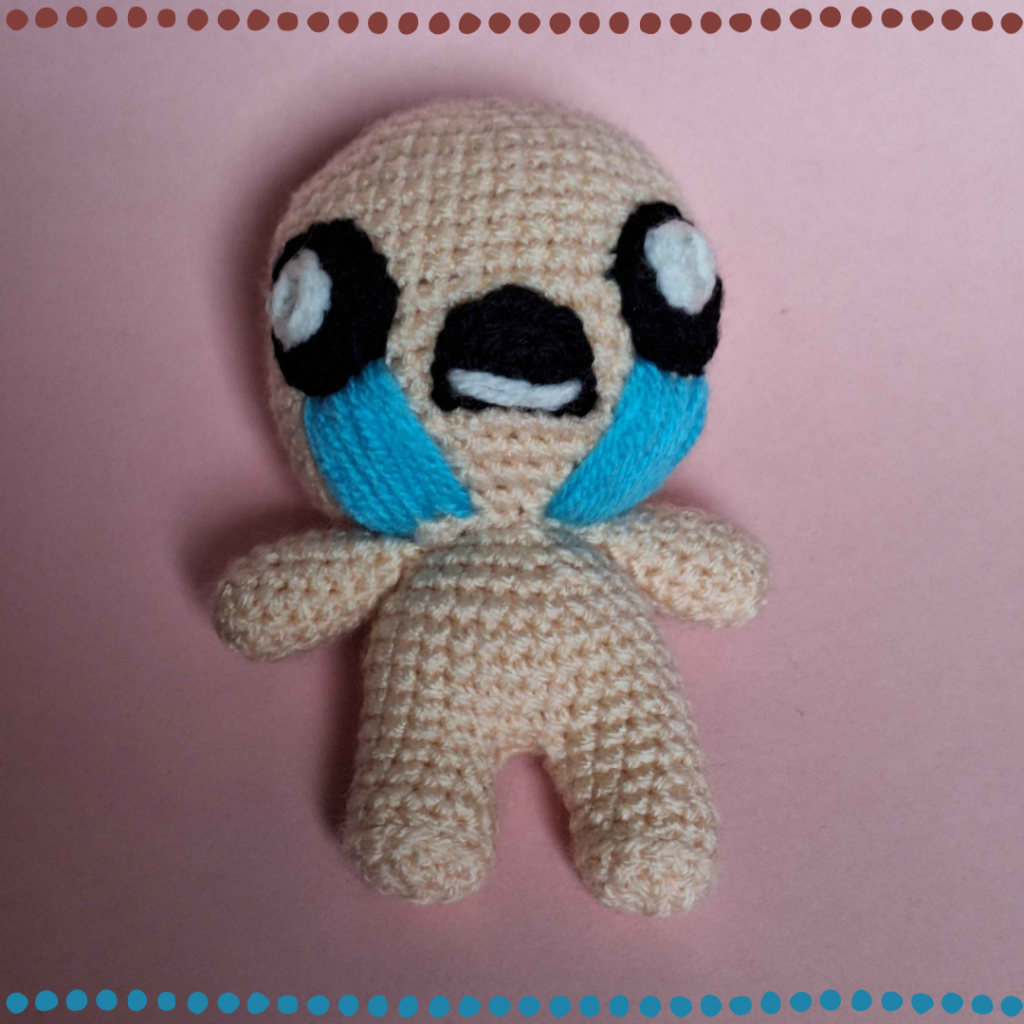
The image below shows the character Isaac in the game. The piece is worked in rounds throughout. The head is made first and the body will be sewn to it afterwards. The eyes, mouth and teeth are made separately with the tears embroidered onto the face last.
Materials
Stylecraft DK Yarn, 100% Premium Acrylic (295m/322yds per 100g ball) or any DK Yarn
1 x 100g ball in DK 1005 Cream (A)
1 x 100g ball in DK 1002 Black (B)
1 x 100g ball in DK 1001 White (C)
1 X 100g ball in DK 1068 Turquoise (D)
3mm crochet hook
Tapestry needle
Toy stuffing
Crotchet Pattern
Head
Begin with Yarn A
Round 1: 6dc into the magic circle [6]
Round 2: (inc) 6 times [12]
Round 3: (dc, inc) 6 times [18]
Round 4: (2dc, inc) 6 times [24]
Round 5: (3dc, inc) 6 times [30]
Round 6: (4dc, inc) 6 times [36]
Round 7: (5dc, inc) 6 times [42]
Round 8: (6dc, inc) 6 times [48]
Rounds 9-17: Dc in each st around [48]
Round 18: (6dc, dec) 6 times) [42]
Round 19: (5dc, dec) 6 times [36]
Round 20: (4dc, dec) 6 times [30]
Round 21: (3dc, dec) 6 times [24]
Round 22: (2dc, dec) 6 times [18]
Fasten off leaving a long tail for sewing
Stuff the head
Legs (Make two)
Begin with Yarn A
Round 1: 5dc into the magic circle [5]
Round 2: (inc) 5 times [10]
Round 3: (4dc, inc) 2 times [12]
Round 4: BLO, Dc in each st around [12]
Rounds 5-7: Dc in each st around [12]
Fasten off the first leg but not the second. The second leg will continue into the base of the body
Body
Continuing from the second leg
Round 8: 6dc, ch2, (into the first leg) 12dc, (into the chains) 2dc, 6dc [28]
Rounds 9-13: Dc in each st around [28]
Round 14: (5dc, inc) 4 times [24]
Round 15: Dc in each st around [24]
Round 16: (2dc, dec) 6 times [18]
Fasten off and stuff the body
Arms (make two)
Begin with Yarn A
Round 1: 5dc into the magic circle [5]
Round 2: (inc) 5 times [10]
Rounds 3-9: Dc in each st around [10]
Fasten off and leave a long tail for sewing
Stuff the arms
Eyes (make two)
Begin with Yarn B
Round 1: 5dc into the magic circle [5]
Round 2: (inc) 5 times [10]
Round 3: (dc, inc) 5 times [15]
Fasten off and leave a long tail for sewing
Pupils (make two)
Begin with Yarn C
Round 1: 5dc into the magic circle [5]
Fasten off and leave a long tail for sewing
Mouth
Round 1: 3dc into the magic circle, ch1 turn [3]
Round 2: (inc) 3 times, ch1 turn [6]
Round 3: (dc, inc) 3 times, ch1 turn [9]
Fasten off and leave a long tail for sewing
Teeth
Using Yarn C, embroider two straight lines along the wrong side of the mouth.
Assembly
Sew on the eyes either side of the mouth 8 stitches apart from one another and a couple stitches higher than the flat side of the mouth
Ensuring the head and body are stuffed well then sew them together along the stitches. Stuff the head and body more if needed
Sew on the arms either side of the body, in line with the legs
Sew on the mouth between rows 4-5 of the head. The mouth should have the flat side facing downwards and arched side facing upwards
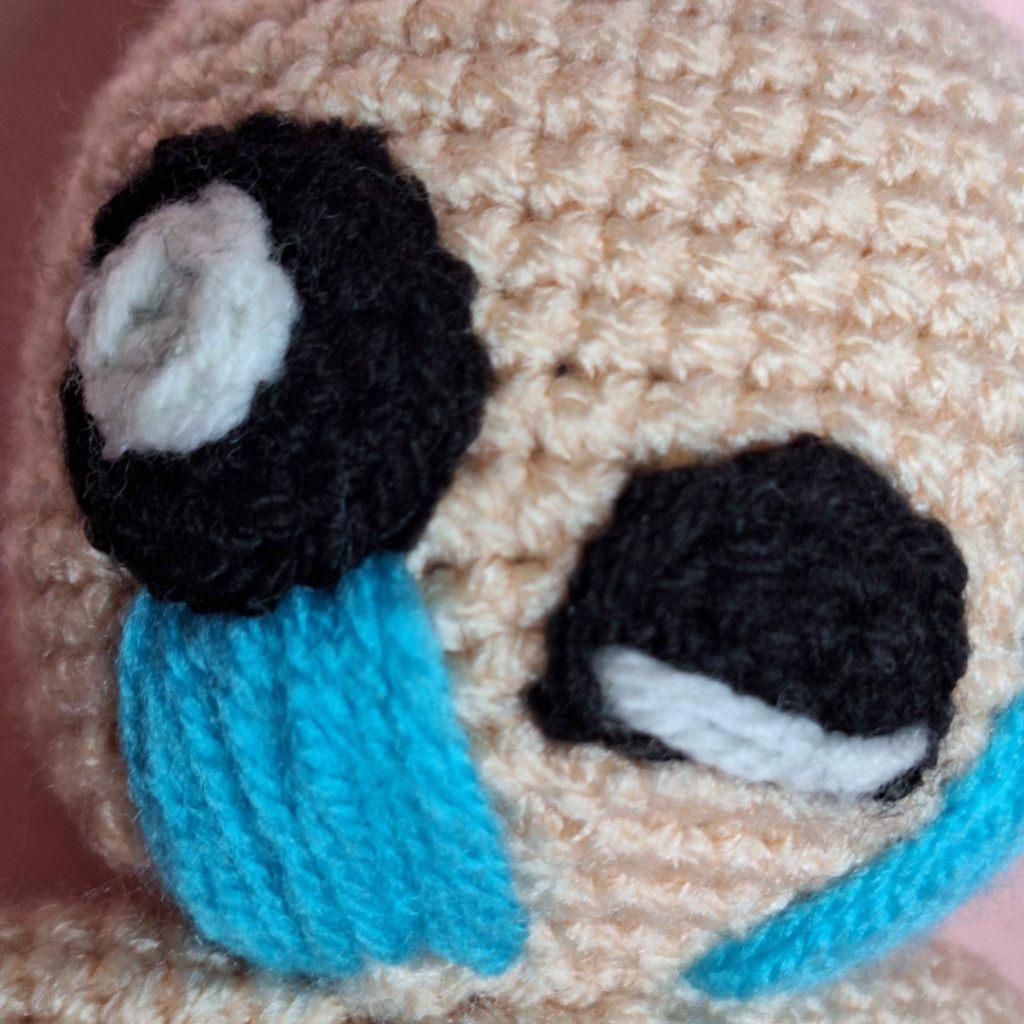
Tears
Once Isaac has been fully assembled, sew on lines of tears coming from beneath the eyes down towards the top of the body
Repeat the lines until you have a good covering of tears and so it does not show the skin underneath
Repeat this step for both eyes

Congratulations!
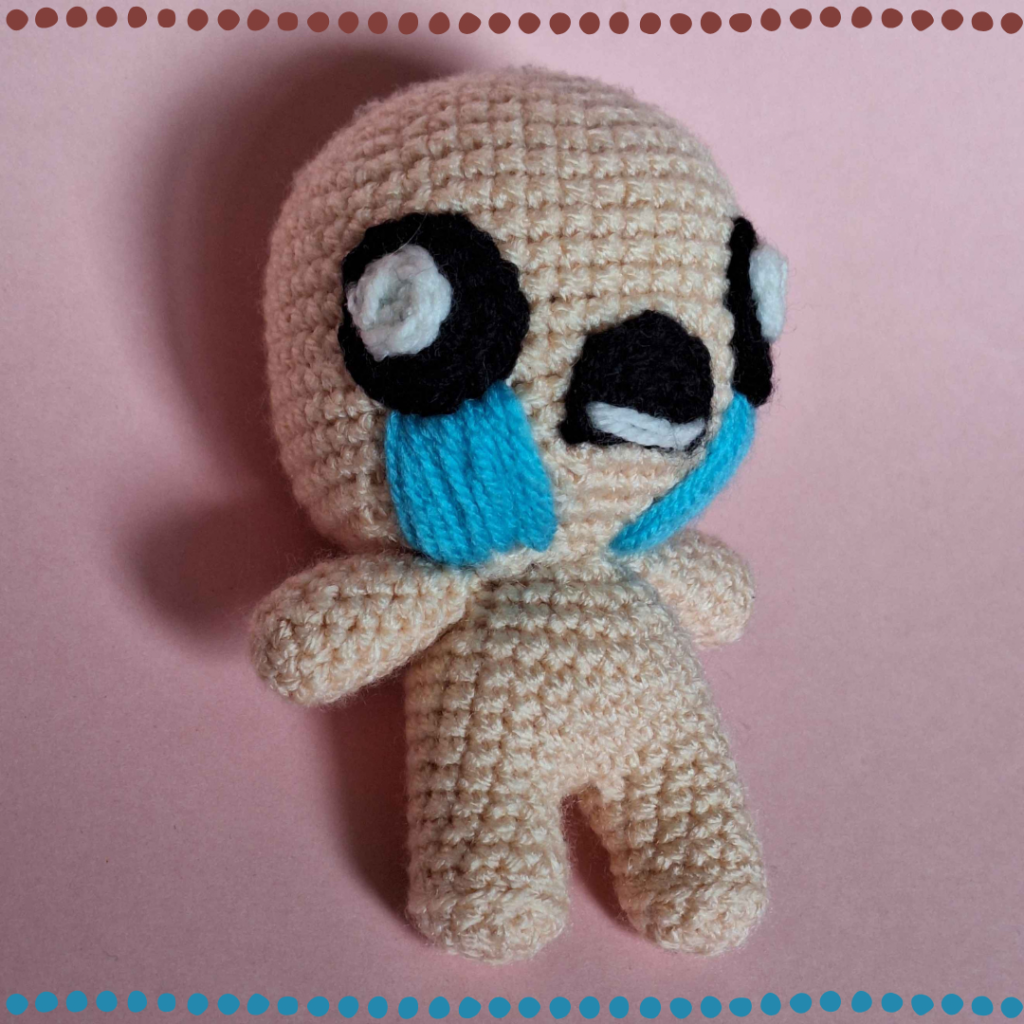
Congratulations! You have your own little Isaac!
Thank you for taking the time to create this pattern. I hope you enjoyed it and are happy with what you’ve made!